Guide for Timers
Follow these steps to set up a Timer/Custom Alerts integration in no time!
TIP
This integration can be used to post a message at scheduled intervals.
1. Create a Custom Alerts integration
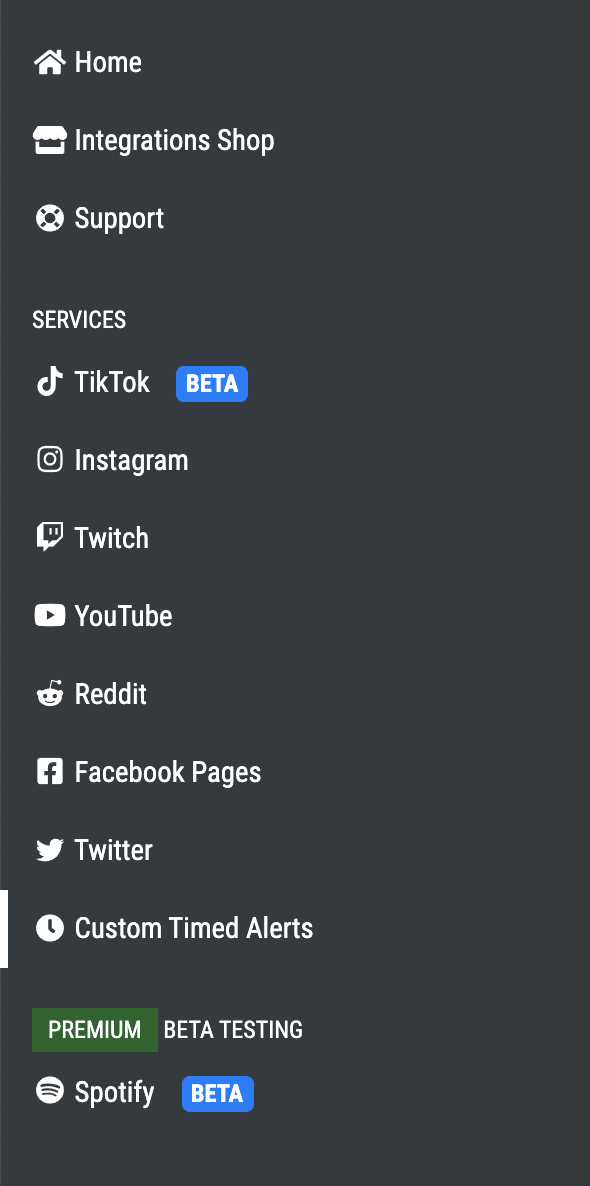
- Select Custom Alerts from the services list on the left-hand side of your Pingcord dashboard
- Click on New Integration
2. Select the Discord channel
Select the Ping Channel, this is the channel Pingcord will post your notifications in.
The permissions checker will then check if Pingcord can actually post in your channel. If there is a problem, you may see something like this:
 Click on the image to zoom in.
In this case, you will need to give Pingcord the proper roles and permissions in your server to allow Pingcord to post in the desired channel.
However, if you see something like this:
 Click on the image to zoom in.
That means everything is configured properly!
3. Set a name for this timer
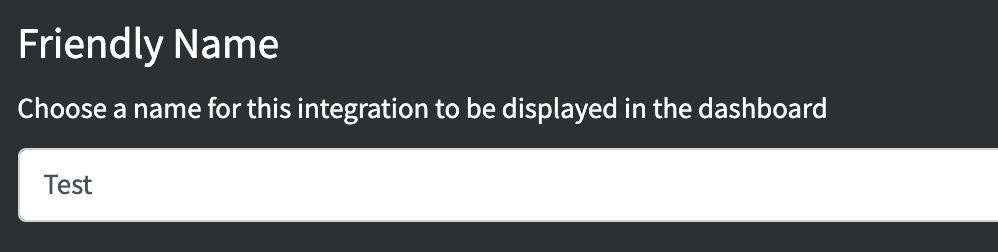
This name is just visible to you in the Dashboard, so you can add a description for each timer.
4. Set the message
Then, set the message you want Pingcord to post.
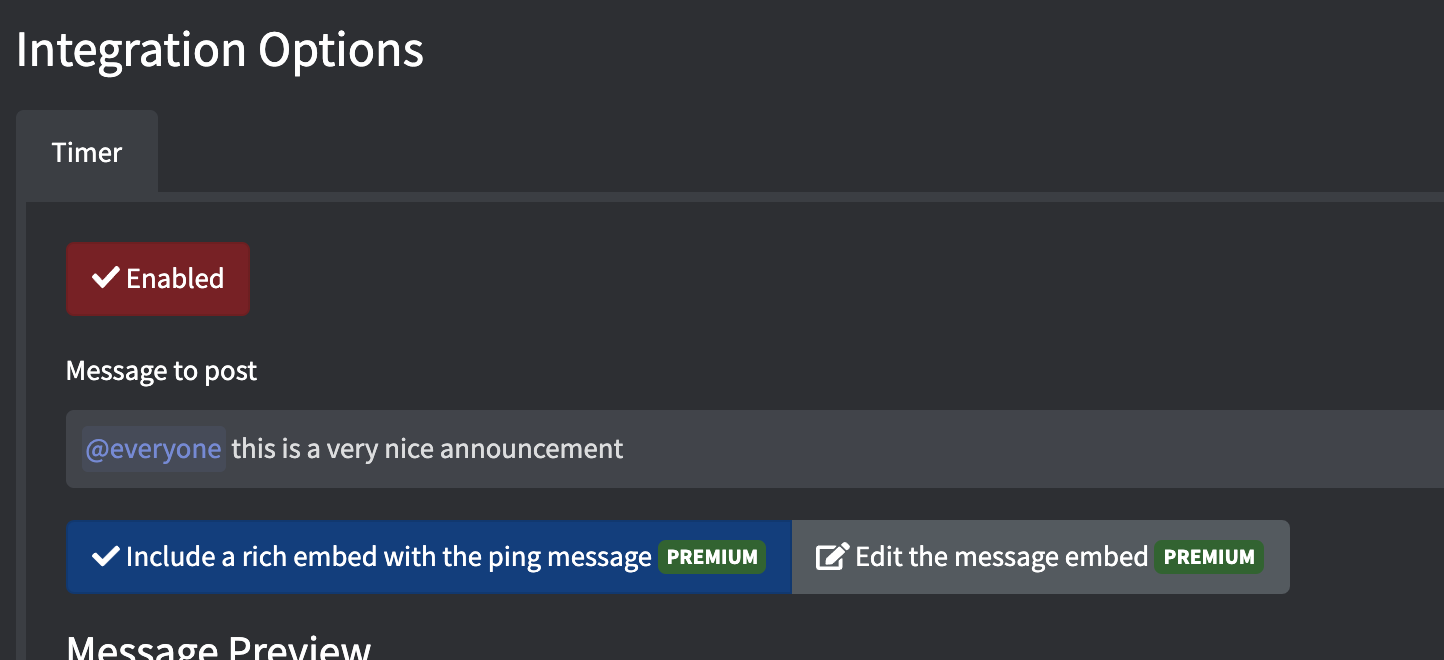
The message box works in the same way as Discord's message box. This means you can use @everyone, @here, or even tag specific roles. You can simply start typing @... and a list of roles will appear just like Discord, you can use the arrow keys and enter, or click on the role to insert the role tag.
There aren't any variables for this type of integration as there is no external data from another site.
Note
There is no default embed with this integration, unlike other integrations. Therefore, including a custom embed with the message is only available with Premium.
Play around with it and see your changes in real-time with the Message Preview window underneath.
5. Set the posting schedule
Set the posting schedule for this integration.
Note
The timezone for this is UTC. Use something like worldtimebuddy to convert UTC into your local timezone.
TIP
Ranges in all sections are inclusive.
You cannot save a cron that runs more frequently than once every 15 minutes, to reduce spam.
It may be easier to start from the rightmost tab, "Day of Week" and work your way down.
Day of Week
First, set which days of the week you want the timer to run.
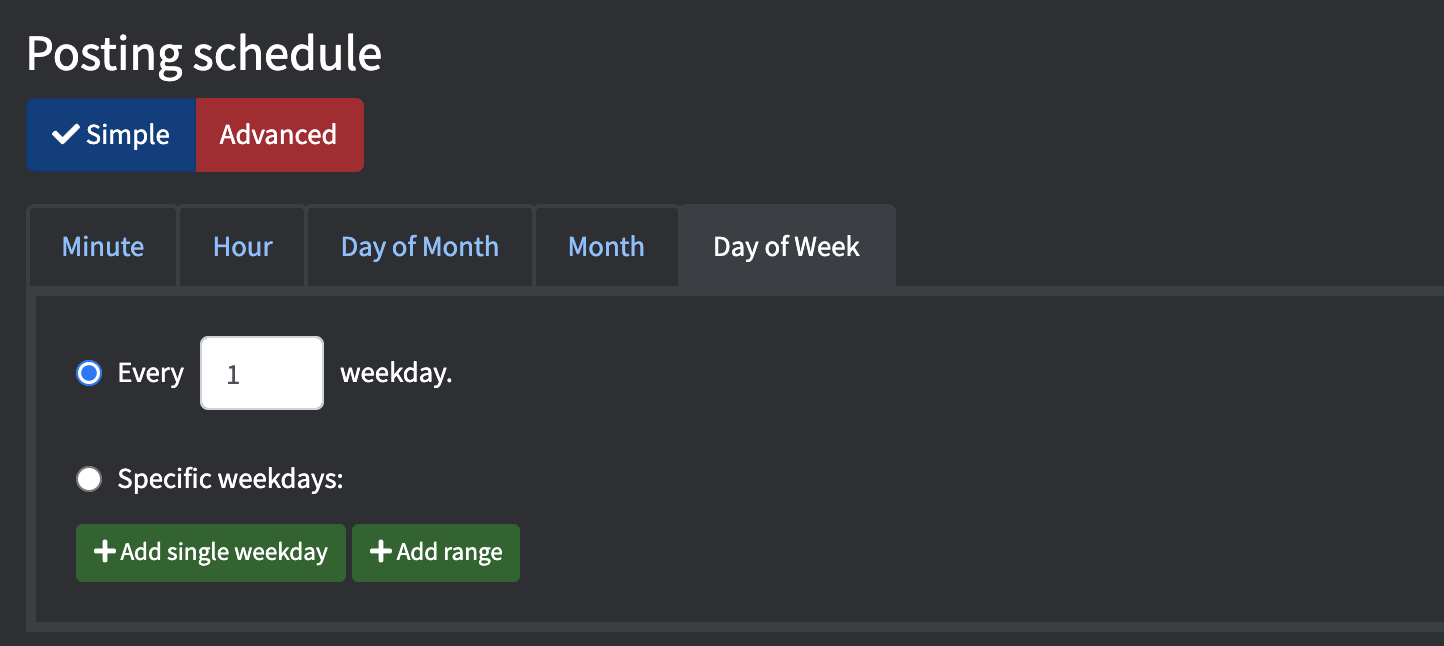
Some examples are:
- Every weekday (leave as "Every 1 weekday")
- Only on Thursdays (to do this, press Add single weekday and select Thursday)
- Only on Mondays and Thursdays (same as above but repeat again for Monday)
- Between Monday and Friday (to do this, press Add range and select Monday then select Friday)
Please note for the purposes of ranges, the week starts on Sunday and ends on Saturday. If you want to range between Friday - Monday (inclusive), then you must add two ranges, one between Friday to Saturday, and another between Sunday and Monday.
Month
Then, set the months you want the timer to run.

Some examples are:
- Every month (leave as "Every 1 month")
- Only in January (to do this, press Add single month and select January)
- Between January and June (to do this, press Add range and select January then select June)
Day of Month
Then, set the days of the month you want it to post.
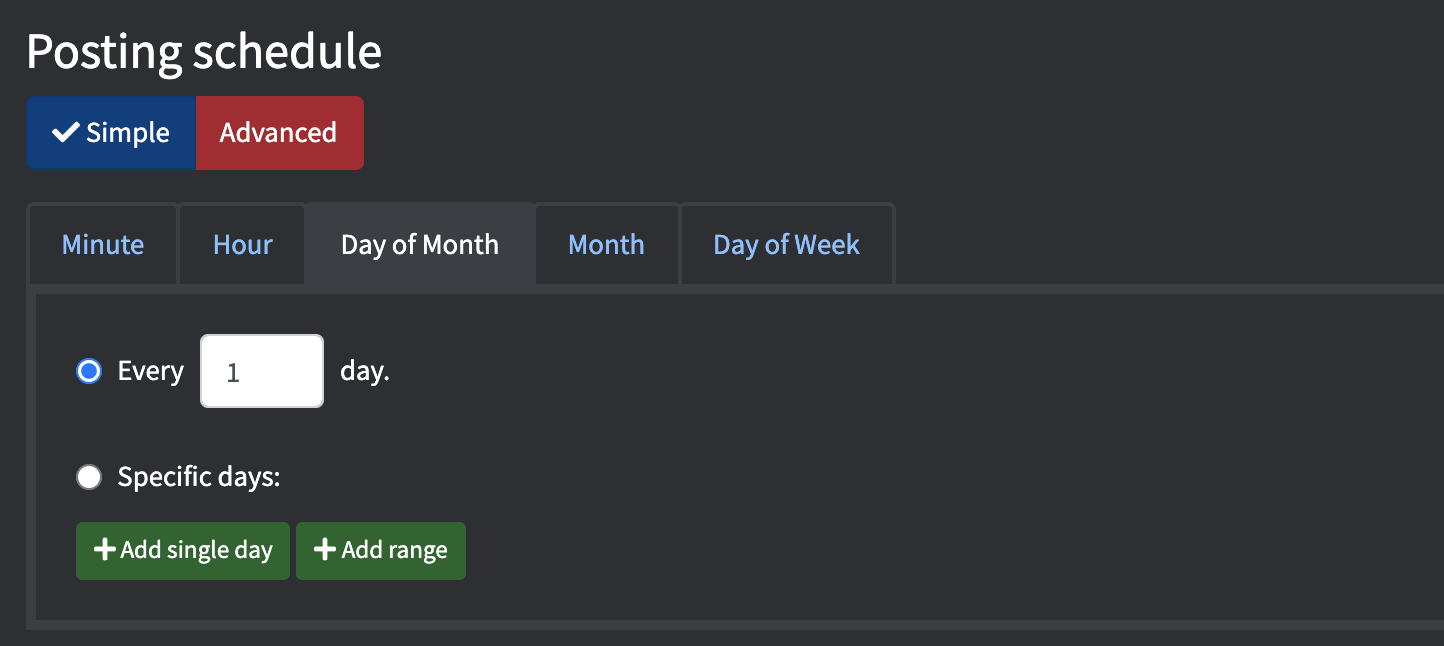
Some examples are:
- Everyday (leave as "Every 1 day")
- Only on the 1st of the month (to do this, press Add single day and select 1st)
- First 5 days of the month (to do this, press Add range and select 1st and then 5th)
Hour
Then, set the hours of the day you want it to post. Remember, this is in the UTC timezone.

Some examples are:
- Every hour (leave as "Every 1 hour")
- At midnight UTC (to do this, press Add single hour and select 0th)
- At 9am UTC (same as above but select 9th hour)
- Between 9am and 5pm UTC (to do this, press Add range and select 9th and then select 17th)
Minute
Lastly, set the minutes of the hour you want it to post. Remember, this is in the UTC timezone.
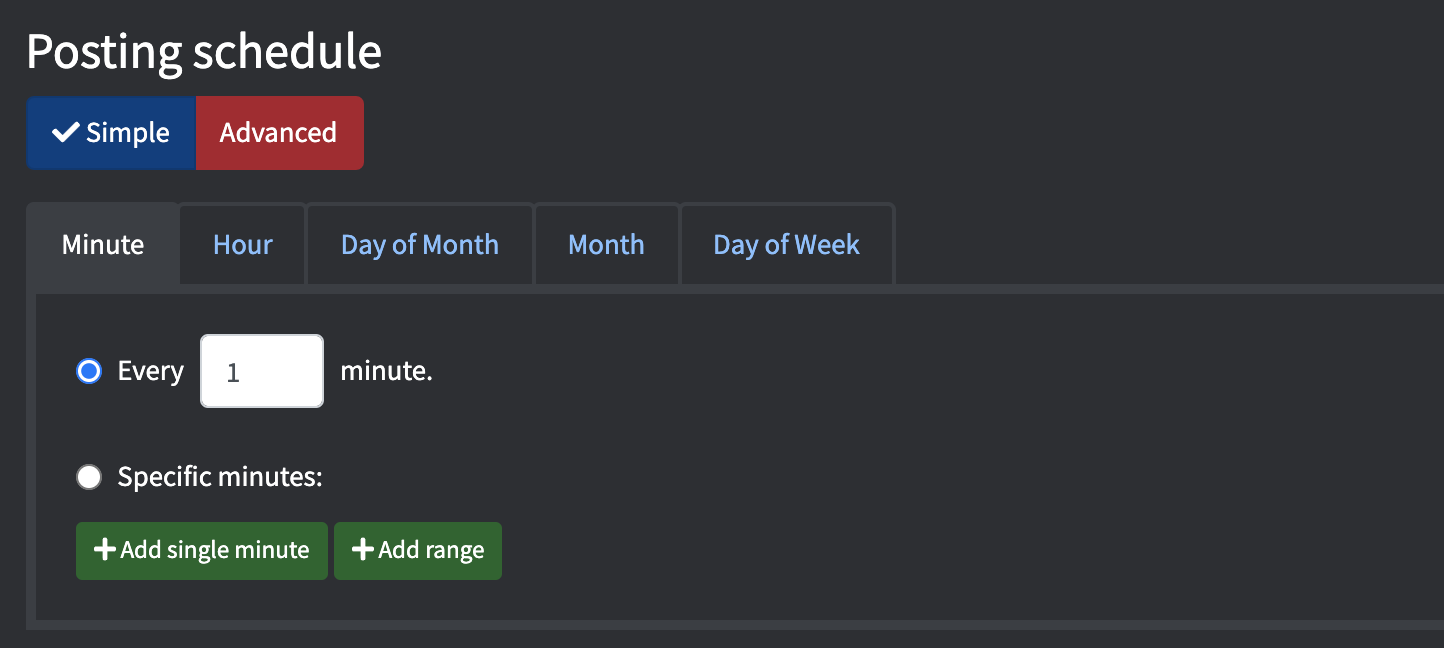
Some examples are:
Every minute (leave as "Every 1 minute")Remember, it must be more frequent than 15 minutes.- At zero minutes, aka on the hour (to do this, press Add single minute and select 0th)
- At 0, 15, 30, and 45 minutes past (repeat the above 4 times with each minute)
Check you've set it up correctly

You will be shown the output at the bottom which updates live with your changes. The sentence at the end will tell you how this particular schedule will post.
Direct CRON entry
This integration uses a widespread scheduling format called CRON. If you are familiar with CRON, you may wish to input a CRON string directly. To do this, press Advanced to switch to a CRON input and paste in the string.
6. Save changes
Don't forget to save your new integration!
How can I ping @everyone and/or another role?
As mentioned, the message box works just like Discord.
To add a role or @everyone ping, simply type @ followed by a few characters of the role name and then select it from the autocomplete list.