Quick Start Guide for Facebook Pages
Follow these steps to set up a Facebook Pages integration in no time!
Note
As the name suggests, this only works for Facebook Pages. It does not work for personal accounts or groups.
1. Link your Facebook account
Due to Facebook privacy regulations, you can only track pages that you have access to.
You need to have Moderator status or higher on the pages you would like to add.
Please refer to the guide for Linking your Facebook account & common problems and then return here to continue afterwards.
2. Create a Facebook Pages integration
- Select Facebook Pages from the services list on the left-hand side of your Pingcord dashboard
- Click on New Integration
3. Select the Discord channel
Select the Ping Channel, this is the channel Pingcord will post your notifications in.
The permissions checker will then check if Pingcord can actually post in your channel. If there is a problem, you may see something like this:
 Click on the image to zoom in.
In this case, you will need to give Pingcord the proper roles and permissions in your server to allow Pingcord to post in the desired channel.
However, if you see something like this:
 Click on the image to zoom in.
That means everything is configured properly!
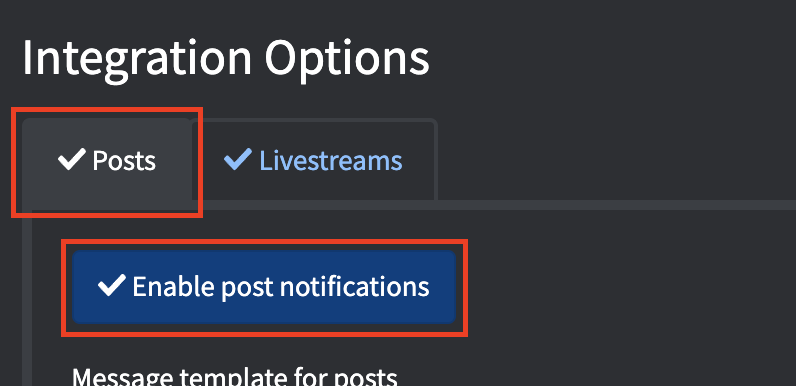
4. Choose which events you want included
By default, both Posts and Livestreams are enabled.
To change which events are enabled, switch the tab to the desired event and use the toggle button
5. Amend the message if desired
You can amend the message that Pingcord sends to anything you want!
The message box works in the same way as Discord's message box. This means you can use @everyone, @here, or even tag specific roles. You can simply start typing @... and a list of roles will appear just like Discord, you can use the arrow keys and enter, or click on the role to insert the role tag.
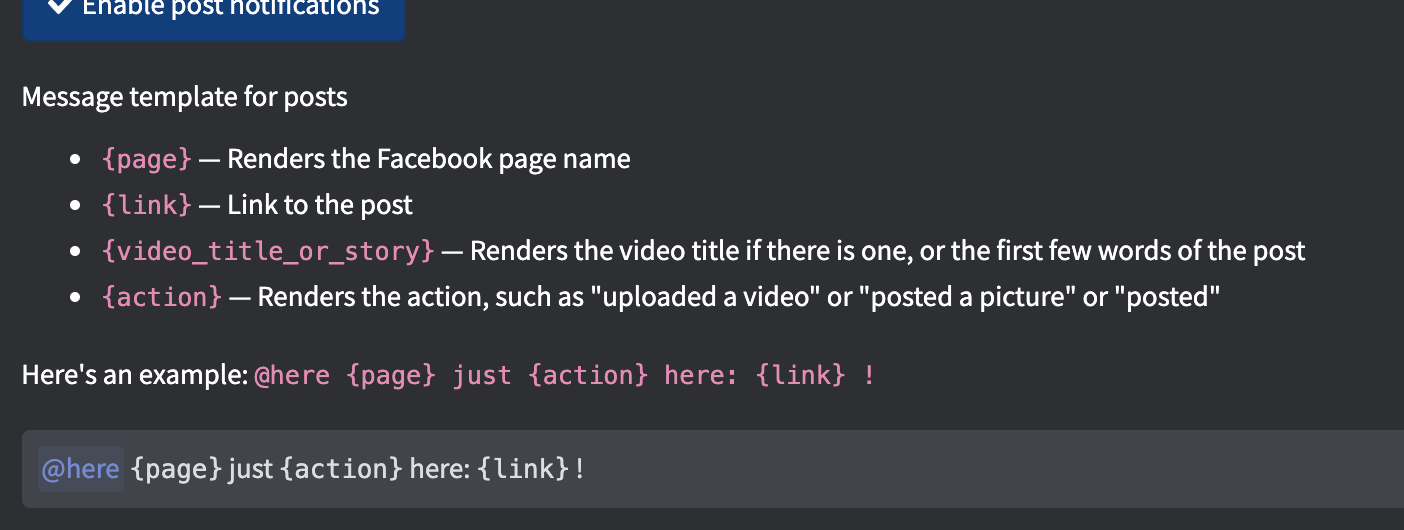
You also have a few variables at your disposal, these are listed above the message box and are different for each service. They are replaced with the relevant page and post details automatically, so you can use 1 format for all the channels in the integration.
Heads up!
The event types (Posts and Livestreams) have separate message boxes and sets of variables.
As seen in the image, for Facebook posts you have:
{page}which expands into the Facebook page's name{link}which expands into the URL for the new post{video_title_or_story}which expands into the video title (for video posts) or the first few words of the post text{action}which expands into the action performed, i.e. "uploaded a video" or "posted a picture"
Play around with it and see your changes in real-time with the Message Preview window underneath.
6. Add Facebook pages to track
Select the relevant page from the dropdown and then press Add Channel.
 Click on the image to zoom in.
7. Save changes
Don't forget to save your new integration.
After saving, you may see a message next to each Facebook page indicating the status of the tracker.
It may temporarily say Creating tracker but should quickly change to Tracking healthy.
How can I disable @everyone and/or ping another role?
As mentioned, the message box works just like Discord.
To remove the @everyone ping from the message simply highlight and delete it out.
To add a role ping, simply type @ followed by a few characters of the role name and then select it from the autocomplete list.